Dog Drawing: A Complete Guide to Drawing Man’s Best Friend
Drawing a dog can be one of the most rewarding artistic experiences for beginners and professionals alike. Dogs are expressive, intelligent, emotional, and full of character. Whether you want to capture your pet’s personality, illustrate storybooks, or study animal anatomy, learning to draw dogs will strengthen your artistic skills and observational ability.
In this in-depth guide, we will explore every aspect of dog drawing — from anatomy and proportions to shading, fur textures, posture, and stylistic variations. We’ll also look at different breeds, common drawing challenges, and how to make your drawings more lifelike and emotionally engaging.
This isn’t a brief tutorial with quick sketches — it’s a full journey through the art and science of illustrating dogs.
1. Understanding the Foundation of Dog Drawing
Before you pick up your pencil, understanding the structure and form of dogs is essential. Every successful drawing begins with a clear understanding of shape, anatomy, and proportion. Dogs may vary by breed, but they share the same fundamental skeletal and muscular structure.
When drawing dogs, you must balance realistic accuracy with artistic expression. The artist’s goal isn’t to reproduce a photograph but to interpret the dog’s movement, spirit, and character.
1.1 The Basic Shapes Approach
The simplest way to start a dog drawing is by breaking the figure into basic geometric shapes. This helps establish the posture, orientation, and proportions before adding details.
| Body Part | Basic Shape Used | Purpose |
|---|---|---|
| Head | Oval or Circle | Defines skull size and face angle |
| Muzzle | Rectangle or elongated oval | Helps plan mouth, nose, and perspective |
| Ears | Triangles or rounded shapes | Adds character depending on breed |
| Body | Large oval | Main body mass |
| Legs | Cylinders | Indicates limb length and direction |
| Paws | Rounded rectangles | Defines grounding and position |
| Tail | Curved line or cone shape | Suggests movement or balance |
By sketching lightly with these shapes, you can adjust proportions before committing to outlines. It’s a simple yet powerful foundation technique used by animators, illustrators, and fine artists.
1.2 Understanding Dog Anatomy
Dog anatomy is diverse, but certain principles apply to all breeds. A dog’s body can be divided into three main regions:
- Head and neck
- Torso and limbs
- Tail and hindquarters
The proportions between these sections vary depending on the breed, age, and posture.
Here’s a simplified breakdown of proportions (based on medium-sized dogs):
| Body Section | Average Length (Proportion) | Description |
|---|---|---|
| Head (nose to back of skull) | 1 unit | The head length equals about ⅓ of the body (excluding tail) |
| Neck | 0.5–0.75 units | Slightly curved; connects skull and shoulders |
| Torso | 2 units | Main body length from shoulder to hip |
| Legs | 1–1.5 units | Depending on posture; hind legs often longer |
| Tail | 0.75–1 unit | Used to balance; varies in curve and fur type |
Understanding proportion helps your drawing remain balanced and believable. Even in stylized forms, correct proportions prevent distortion and stiffness.
2. Capturing Expression and Emotion
Dogs are among the most expressive animals. Their eyes, ears, and posture communicate everything — curiosity, joy, fear, or affection. To create a lifelike drawing, you must capture these emotional cues.
2.1 The Eyes: The Soul of the Drawing
Dog eyes are the focal point of any portrait. They reveal emotion, personality, and intent.
When drawing eyes:
- Notice the shape variation — almond-shaped for breeds like Huskies, rounder for Pugs or Beagles.
- Pay attention to highlight reflections; a small white spot gives eyes life.
- The eyebrow area defines mood — raised brows show curiosity or concern, relaxed brows show calmness.
Use light shading to create depth, starting with the iris and leaving small white spaces for shine.
2.2 Ears, Mouth, and Nose: Personality Details
Ears and muzzle shapes vary widely across breeds, making them essential to capturing character.
- Erect ears (German Shepherds, Huskies) suggest alertness.
- Floppy ears (Beagles, Retrievers) indicate softness and friendliness.
- Short muzzles (Bulldogs) differ from elongated ones (Greyhounds).
When drawing the nose, notice how light reflects off its moist surface. Use smooth shading, avoiding hard outlines. The mouth should follow the muzzle’s curve — the line where the lips meet can be subtle but adds realism.
3. Drawing the Body in Motion
A stationary dog is simple to draw, but capturing movement is what truly brings a drawing to life.
3.1 Posture and Gesture Lines
The gesture line (a single curved line through the spine or main axis) determines the energy of your drawing.
For example:
- A running dog will have an elongated curve from head to tail.
- A sitting dog has an “S” curve between the back and tail.
- A sleeping dog folds into a circular, compact posture.
Before focusing on details, draw this core line to set direction and balance.
3.2 Studying Movement
Watch dogs in motion — walking, jumping, lying down. Dogs’ gaits have rhythmic patterns similar to horses. Observe leg placement and weight distribution.
In running, for instance:
- The front legs extend forward first.
- The back legs follow in a stretched position.
- The tail often counterbalances movement.
Drawing from life or videos helps you internalize how muscles stretch and compress, preventing stiffness in your art.
4. Shading, Texture, and Fur Techniques
4.1 Understanding Light and Shadow
Light defines form. To create three-dimensional dogs, visualize where light falls and where shadows form.
- Top light: Highlights the head and spine, shadows under belly and legs.
- Side light: Emphasizes texture of fur.
- Back light: Creates silhouette and glow effects.
Use cross-hatching, blending, or tonal layering depending on your medium.
4.2 Drawing Fur: The Artist’s Challenge
Fur is often the hardest part for beginners. The trick isn’t to draw every hair but to suggest texture using light and direction.
| Fur Type | Technique | Common Breeds |
|---|---|---|
| Short & smooth | Short, directional strokes | Boxers, Dalmatians |
| Medium | Layered pencil lines following muscle shape | Beagles, Labradors |
| Long & wavy | Flowing curved lines, highlight variation | Collies, Retrievers |
| Curly | Small circular motions for volume | Poodles |
| Rough/Thick | Randomized strokes + shading | Huskies, Shepherds |
Always follow the direction of hair growth — from center of face outward, and along the curve of limbs. Avoid overworking; subtle texture often looks more natural.
5. Common Mistakes and How to Fix Them
Even skilled artists struggle with animal drawings. Here are frequent issues and solutions:
| Common Mistake | Cause | Fix/Tip |
|---|---|---|
| Stiff posture | Ignoring gesture lines | Loosen up with quick sketches before final drawing |
| Misaligned eyes | Incorrect perspective | Draw light guidelines across face |
| Flat fur | Even shading without direction | Vary pressure and length of strokes |
| Oversized paws | Lack of proportion reference | Compare paw size to head early in sketch |
| Lifeless eyes | No highlight reflection | Add small white spot for light reflection |
Mastery comes from observation and correction. Keep referencing real dogs and photos for anatomy checks.
6. Different Drawing Styles for Dogs
Art isn’t limited to realism — stylized and creative interpretations often express more emotion.
| Style | Description | Best For |
|---|---|---|
| Realistic | Anatomically accurate, detailed shading | Portraits, academic study |
| Cartoon | Simplified lines, exaggerated features | Children’s books, animation |
| Minimalist | Few lines capturing essence | Logo design, modern art |
| Sketch | Rough, expressive pencil work | Practice and gesture studies |
| Digital Painting | Color, lighting, texture in layers | Concept art, digital illustration |
Each style requires a slightly different mindset — realism demands patience, while cartooning encourages exaggeration and humor.
7. Tools and Materials for Dog Drawing
| Material | Purpose |
|---|---|
| Graphite pencils (2H–8B) | Range for light outlines and deep shading |
| Kneaded eraser | For subtle highlights on fur |
| Blending stump | Smooth gradient transitions |
| Charcoal | For strong contrast drawings |
| Colored pencils / markers | Add warmth and texture |
| Sketchbook (medium grain) | Ideal paper for animal sketches |
| Digital tablet (optional) | For color blending and layering |
8. Step-by-Step Example: Drawing a Sitting Dog
Let’s walk through a conceptual example (you can follow using pencil and paper).
Step 1: Basic Shape Layout
Draw an oval for the body, smaller circle for head, and guideline for the spine. Add cylinders for legs and tail.
Step 2: Define Proportions
Adjust the body so that the dog’s head aligns slightly above the chest curve. Place the hindquarters lower to indicate sitting.
Step 3: Outline Features
Sketch the snout, eyes, ears, and outline the legs using the structure lines as reference.
Step 4: Refine Contours
Erase construction lines and define shapes — muscles, fur edges, and folds of skin.
Step 5: Shading and Fur Texture
Add light shading under the belly and behind the ears. Use short directional strokes for fur, following body curves.
Step 6: Final Touches
Add highlights to the eyes, refine shadows, and soften edges using a blending stump.
This process can take 20 minutes or several hours depending on detail level.
9. Drawing Different Dog Breeds
Every breed has unique anatomy and silhouette. Practicing across breeds enhances versatility.
| Breed | Distinctive Features | Drawing Tips |
|---|---|---|
| German Shepherd | Strong back, upright ears | Use bold lines and defined muscles |
| Bulldog | Compact body, short muzzle | Emphasize wrinkles and jawline |
| Greyhound | Long legs, narrow chest | Use flowing lines for speed impression |
| Pomeranian | Fluffy coat, small body | Build texture with soft circular strokes |
| Labrador | Balanced shape, kind expression | Focus on eyes and gentle muzzle curve |
Studying variety helps avoid generic drawings and teaches you to adapt proportions.
10. Turning Practice into Art
Once you’ve built foundational skills, you can experiment with composition and storytelling.
Try these creative exercises:
- Draw your dog in different moods — sleeping, barking, playing.
- Create a dog portrait series in graphite and color.
- Combine dogs with backgrounds — parks, living rooms, cityscapes.
- Experiment with lighting — dramatic shadows, sunset tones.
- Try mixed media — ink with watercolor or pencil over digital paint.
Each new challenge adds depth to your artistic growth.
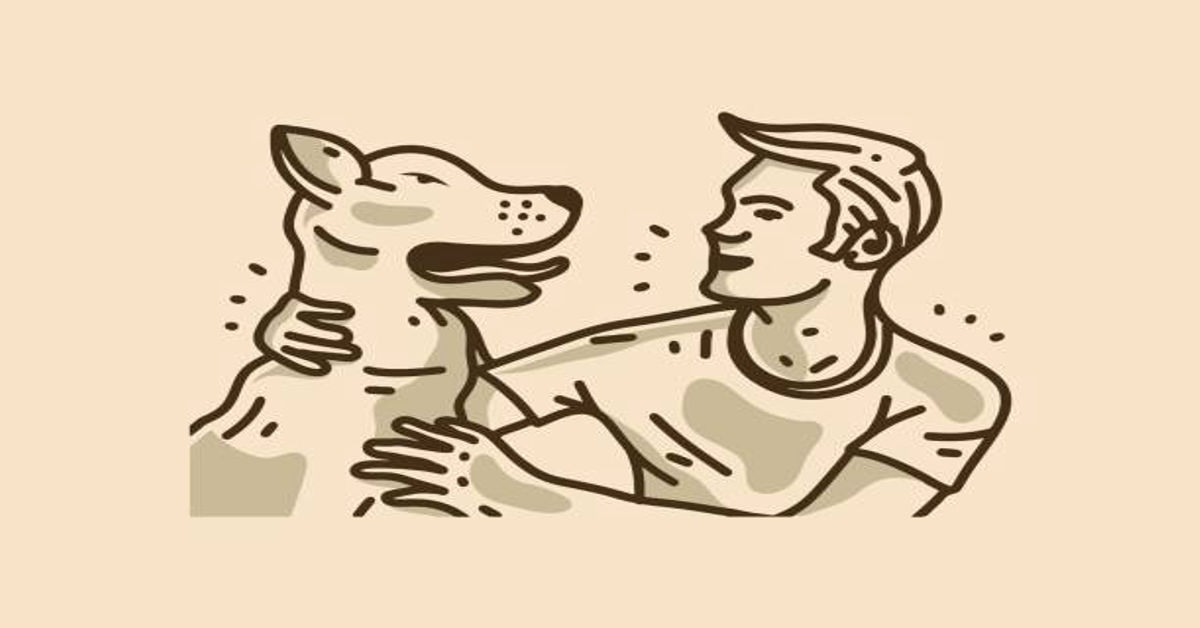
11. The Emotional Power of Dog Art
Dogs symbolize loyalty, friendship, and unconditional love. A well-drawn dog portrait captures emotion — not just anatomy. Artists throughout history have painted dogs to represent faithfulness and companionship. Your drawing becomes more than art; it becomes memory, devotion, and expression.
Capturing this emotion requires empathy. Observe your subject not as an object but as a living being — feel the connection, and let that energy flow through your lines.
12. Practice Plan for Improvement
Consistency is key. Below is a simple 4-week practice schedule you can adapt.
| Week | Focus Area | Goal |
|---|---|---|
| 1 | Basic shapes and proportions | Draw 10 gesture sketches daily |
| 2 | Anatomy and breed variation | Study 3 breeds and sketch their structure |
| 3 | Shading and fur textures | Practice short and long fur types |
| 4 | Full composition | Complete 2 finished dog portraits |
By the end of the month, you’ll notice improved accuracy, confidence, and style.
13. Using Digital Tools
If you’re a digital artist, dog drawing opens creative freedom. Use layers to separate sketch, color, and lighting. Brush textures can simulate fur patterns. Digital drawing apps like Procreate or Photoshop allow custom brushes — such as “fur stroke” or “soft edge.” Combine realism with artistic filters for professional results.
14. Common Challenges and Motivation
Every artist hits roadblocks: inconsistent proportions, overworked shading, or difficulty capturing likeness.
Remember — every mistake is a step toward mastery.
Keep sketching from life. Visit dog parks, take photos, and observe motion. Each drawing will teach you something new: patience, anatomy, or emotional tone.
Art isn’t about perfection — it’s about connection.
Conclusion
Dog drawing is a blend of observation, anatomy, technique, and heart. From basic shapes to full portraits, every stage trains your eye and hand to see the world differently. Whether you’re sketching your pet or designing animated characters, mastering dog drawing deepens your artistic vision and emotional awareness.
So grab your pencil, study your furry friend, and let your lines tell their story — loyal, lively, and full of love.
FAQs
1. What is the easiest dog breed to draw?
Short-haired, medium-sized breeds like Beagles or Labradors are easier for beginners due to simple fur textures and balanced proportions.
2. How can I make my dog drawings more realistic?
Focus on light and shadow, add texture in fur direction, and observe anatomy closely. Small highlights in eyes bring life.
3. Which tools are best for beginners?
Start with HB–4B pencils, erasers, and medium-grain sketch paper. Later, try charcoal or digital brushes for variety.
4. How long does it take to master dog drawing?
With daily practice, noticeable improvement happens within 1–2 months. Mastery requires continuous study of anatomy and motion.
5. Can I draw dogs from memory?
Yes, but begin by observing real dogs or photos to train your visual memory. Gradually, you’ll develop the ability to draw freely from imagination.